
Dyeing Fabric with Kitchen Stuff
If you’re doing a DIY holiday or you’re all about the up-cycle, low-waste wabi-sabi nature of reusable gift wrapping, I have a satisfying project for you: Bundle Dying
You don’t need special equipment, and can find most everything at the thrift store, local grocery and health-food store. I used silk blanks I had here at the house for this project, but I can easily imagine doing tea towels or napkins as a gift -of for myself.
I’m going to walk you through the steps, share lessons learned and favorite links.
One thing you should have is a dedicated pot for steaming or simmering the fabrics. You should definitely use a stainless or porcelain pot. An aluminum pot will muddy or ‘sadden’ the colors- which could be cool if it's intentional. While the dyes aren't dangerous, it's just good strategic safety to keep food and crafts separate. My pot came from the thrift store.
Materials
Fabric
Detergent
Mordant
Dye stuffs
‘Modifiers’ (optional)
Citric acid (powder or juice) - makes the colors pinker
Baking Soda - makes the colors bluer/greener
Kitchen Cabinet Dye Stuff
Organic dried black beans.
Dried hibiscus
Avocado skins and pit
Turmeric (fresh or dried)
Purple onion skins
Prepare the fabric: Wash and Mordant
The fabric needs to be ‘scoured’ which is fancy for washing. It's helpful to use a pH neutral soap (like Dr. Bronners Sal Suds). After washing your fabric will need to be pre-treated. Using a mordant before dying helps the dye particles stick to the fiber. And how/what you mordant with is different for animal fibers and plant fibers.
It cannot be overstated that this is one of the most important steps to get vibrant and colorfast stains. If you start digging into the art of natural dying you’ll also learn you can manipulate color before you even start by how you pre-treat the fabric. We’re going to keep it simple, but recommend sources at the bottom.
Cotton can be pre-treated with Soy Milk. I had great results with avocado-dying to get a lovely pink. Botanical-dye expert Rebecca Desnos has the full instructions here. You can treat other cellulose fibers (linen and hemp).
Silk and wool can be mordanted with alum (aluminum sulfate or potassium aluminum sulfate) or alum and cream of tartar. Both are available from Dharma Trading. I have successfully used just alum with silk (aluminum sulfate), soaked for an hour or two… not even overnight.
Once the fabric has been treated, you can dry it and save it for dyeing another day.
Prep the pot for steaming
On Dyeing Day, you’ll get your pot ready to steam the fabric bundles. You can create a hammock with a piece of spare fabric, or use a colander.
The fun part
Lay damp fabric on a flat surface and decorate with your dyeing materials.
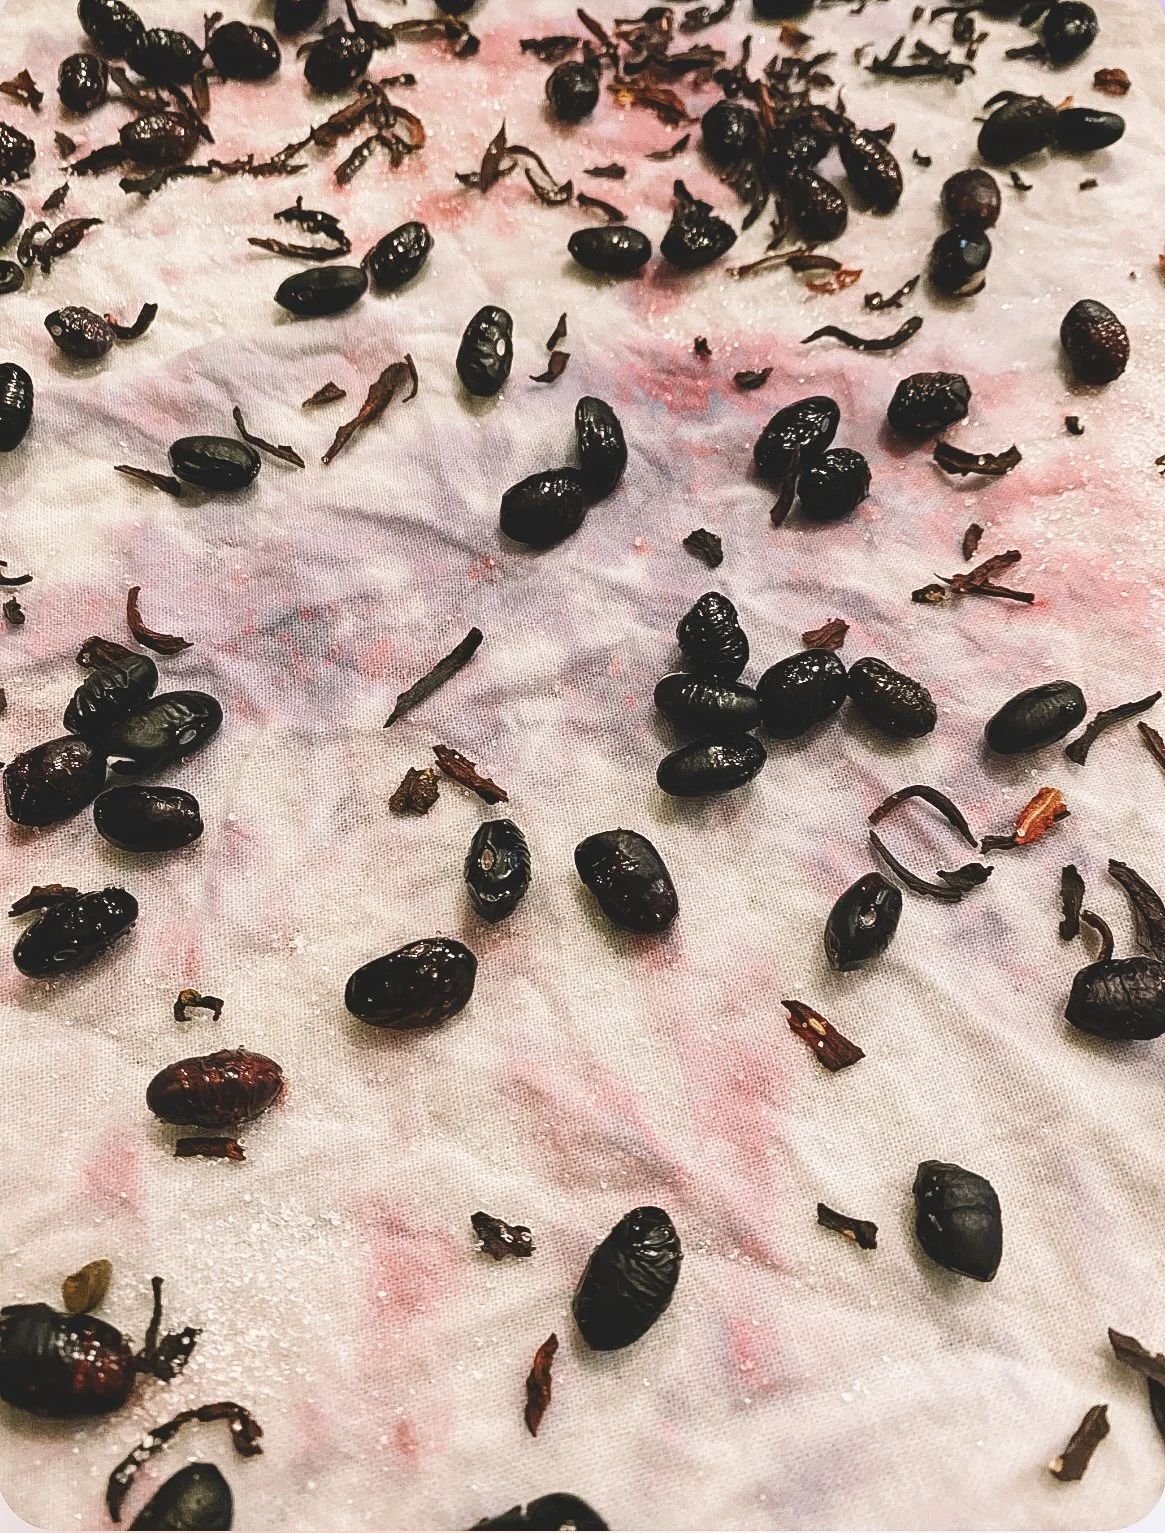
You can do patterns or be random. If you add any of the modifiers, you can evenly dust the fabric or use a utensil to target certain areas. If you have multiple pieces of fabric, it can be fun to explore a variety of techniques and see what you get.
You can decorate just the top ½ of the fabric and fold up from the bottom, adding more dye stuffs in this layer, making a sandwich - then roll. Or you can add to the whole surface before rolling up.
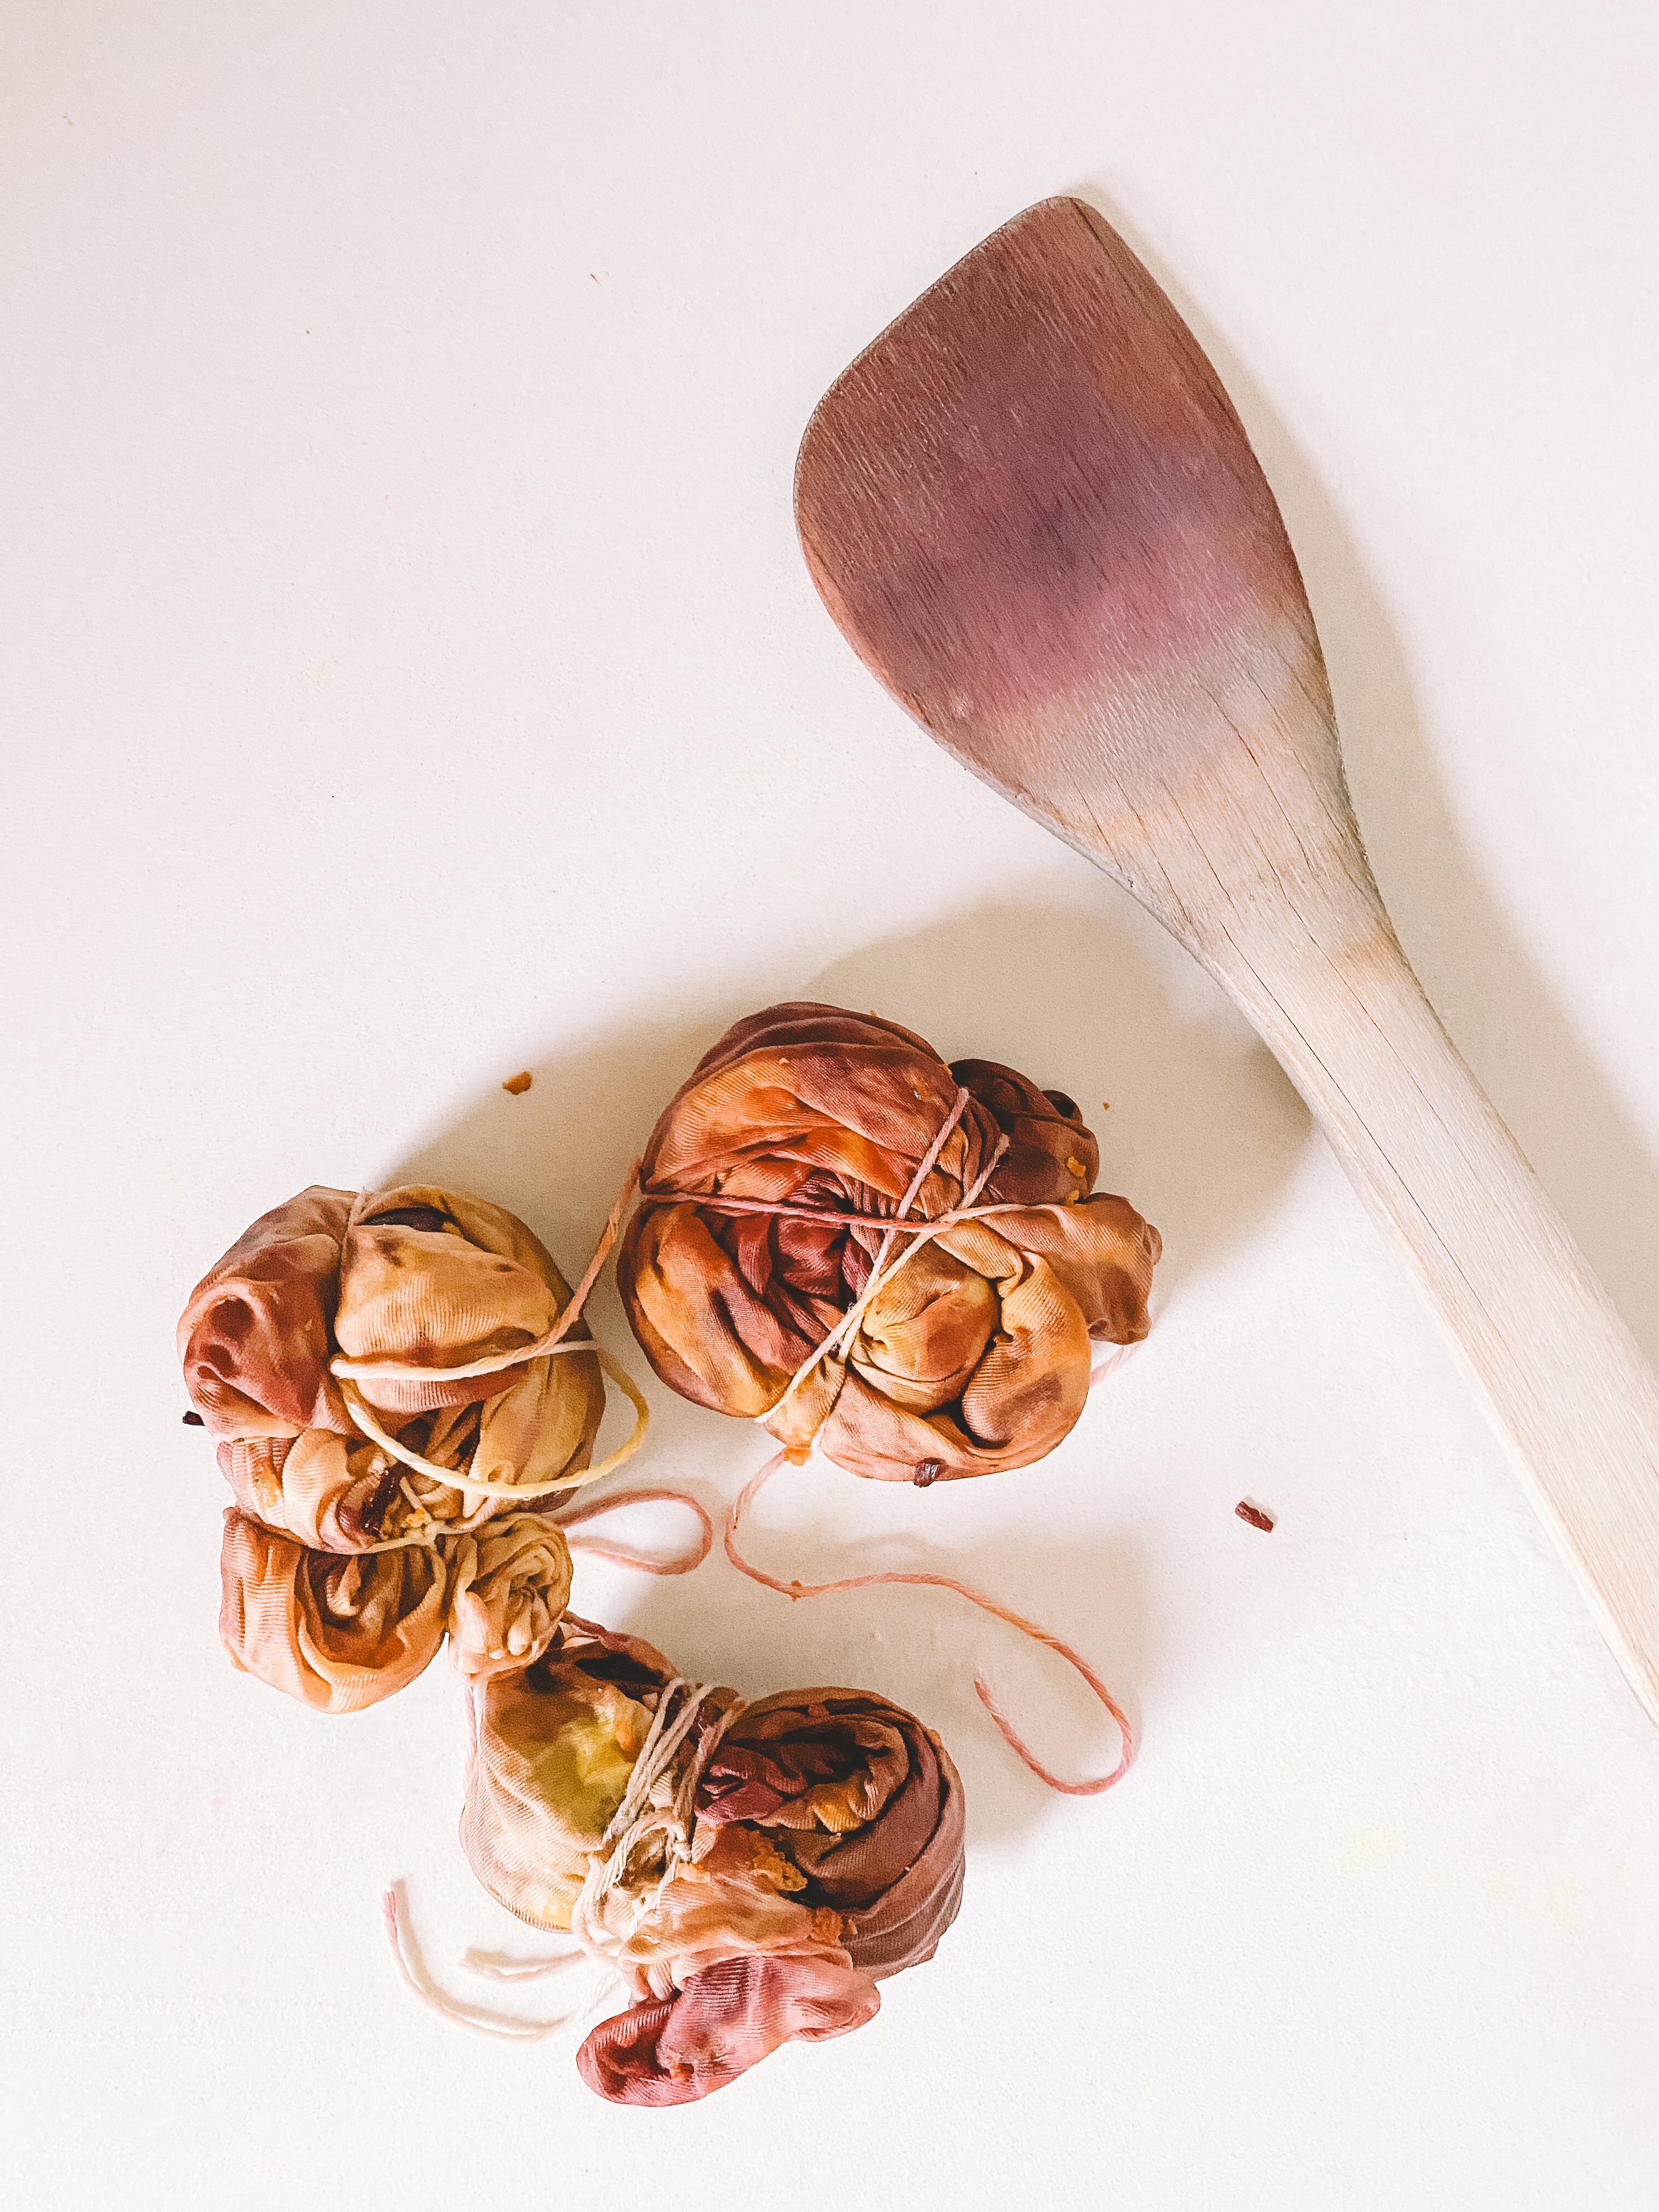
When you roll the fabric, go slow and roll tightly so the materials stay in place. Once you have a long snakey roll, begin rolling from the side so you get a fabric snail. Tie the bundle snugly and set aside until all your fabric pieces are ready for steaming.
Steam the bundles for 1 hour. Rotating if necessary.
Let the bundles cool.
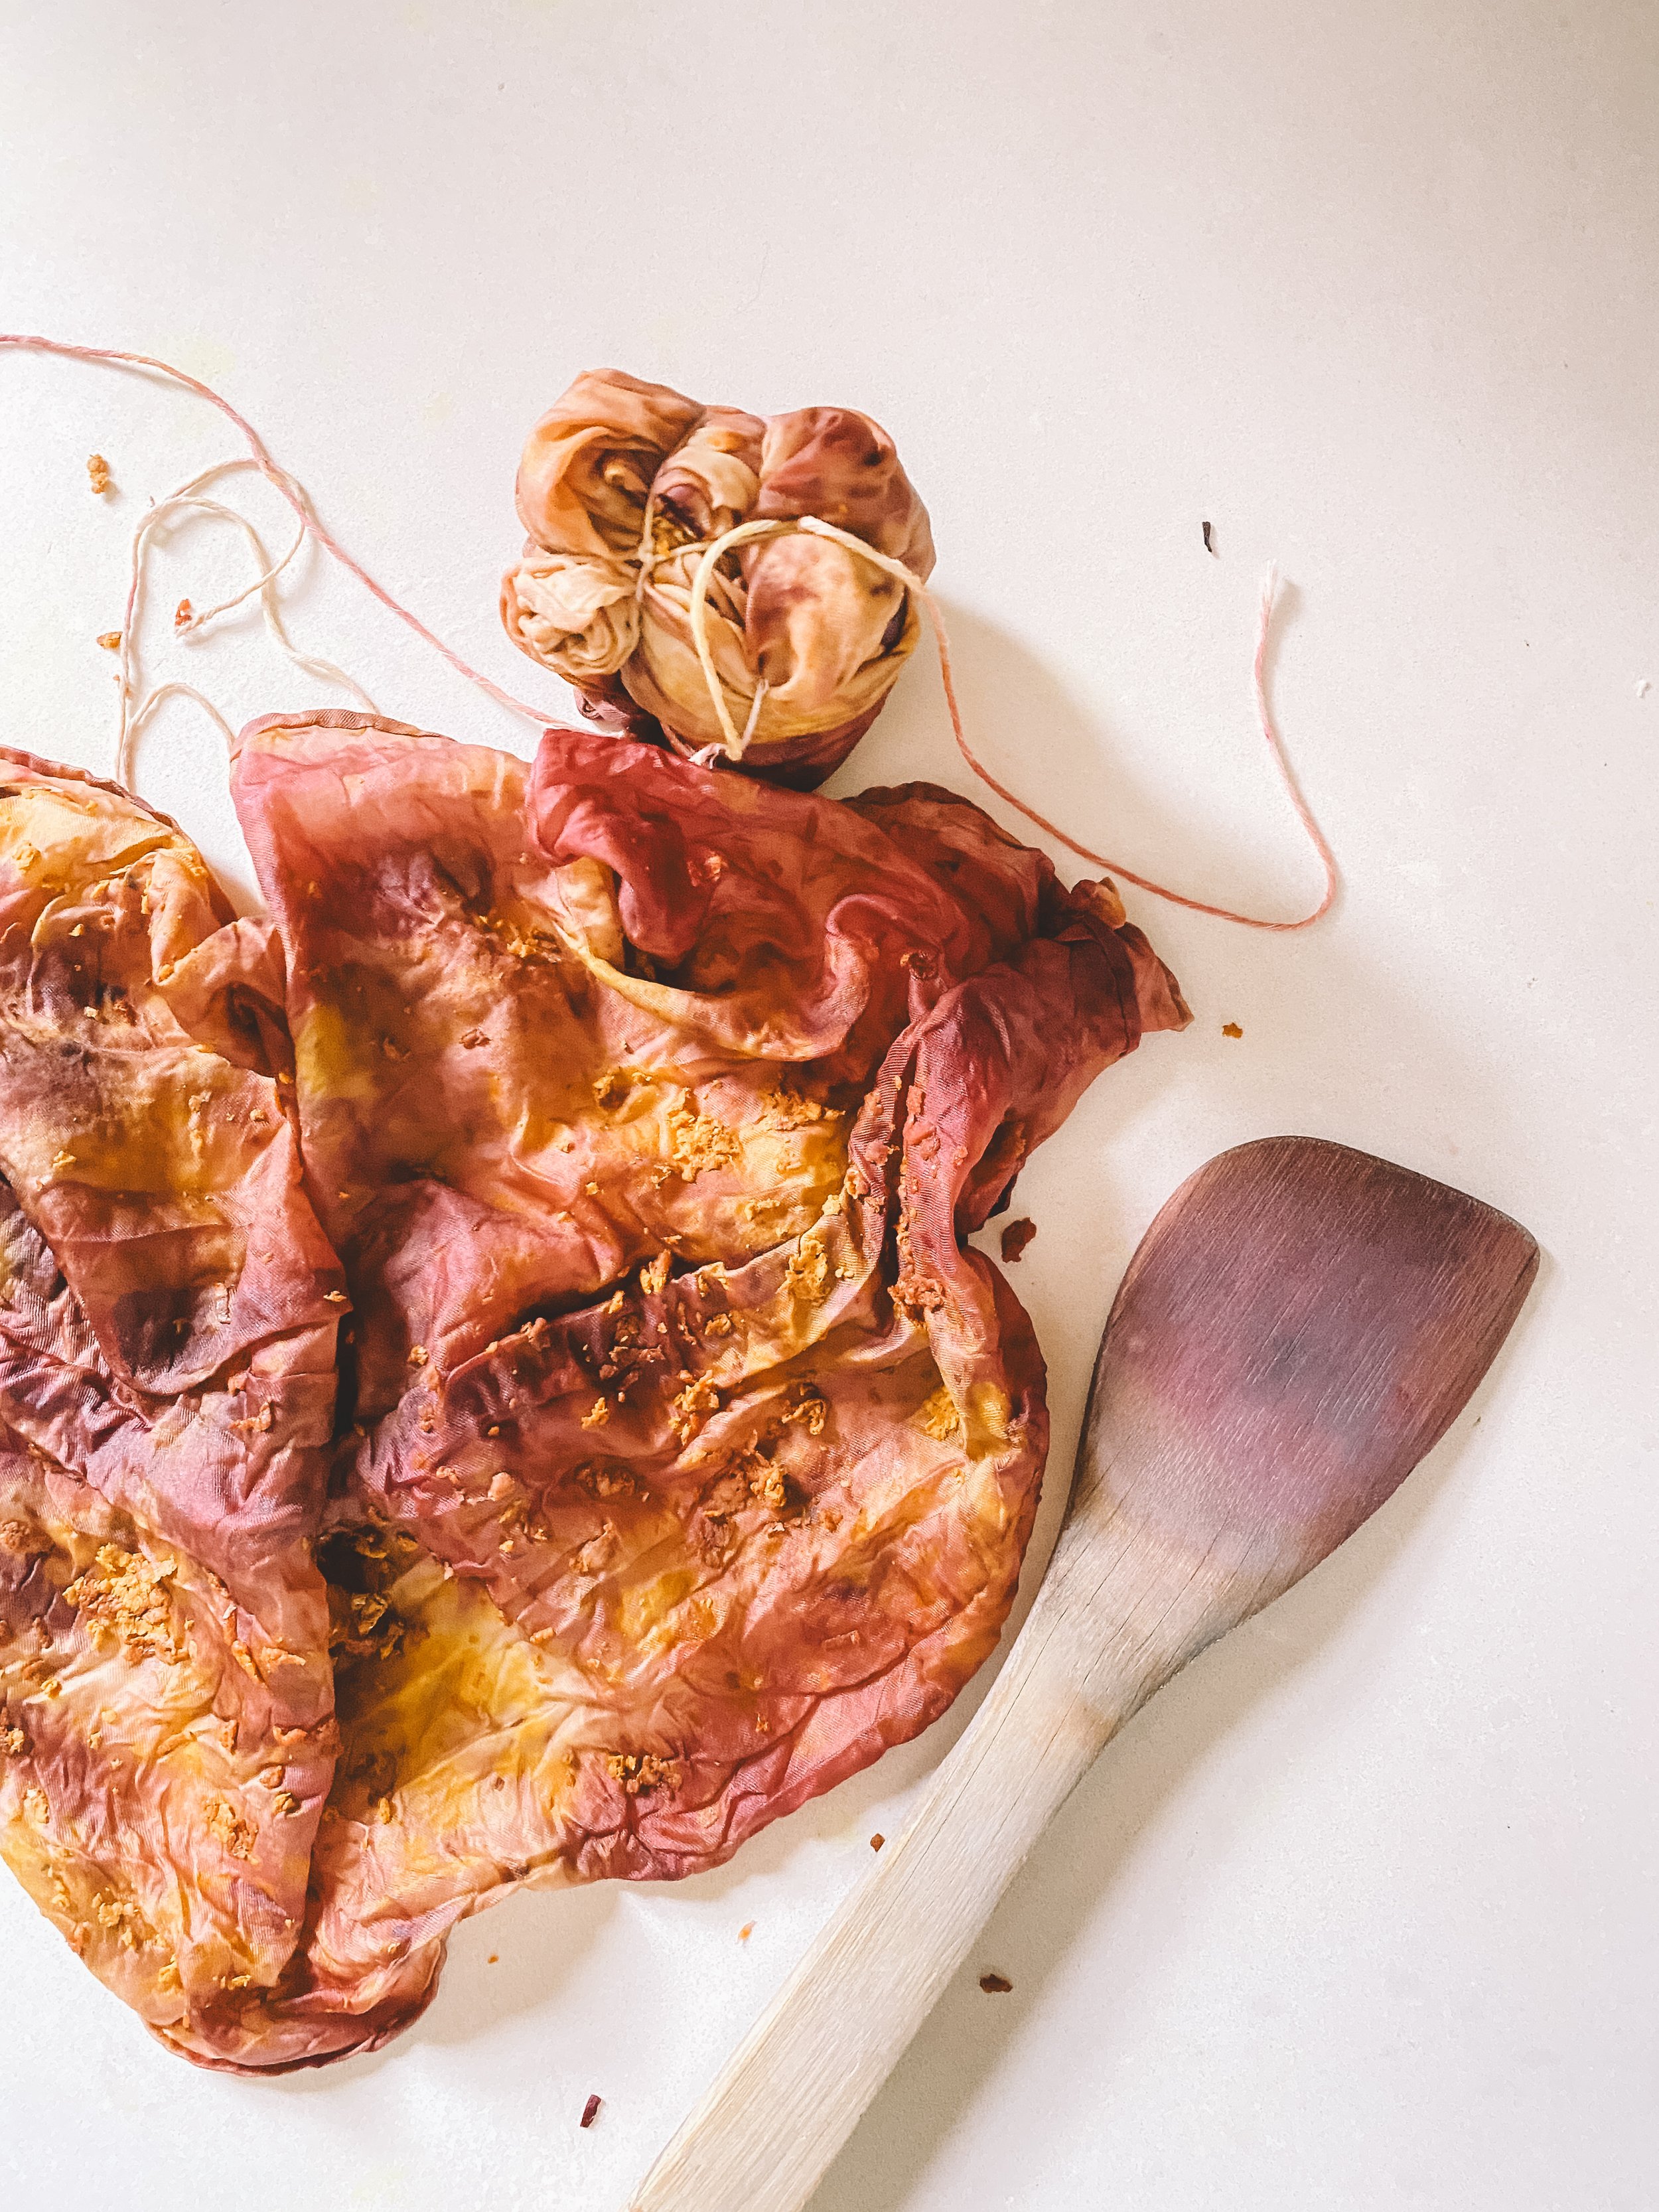
The Reveal:
Excited, impatient people (like me) will open up the bundles right away. However you’ll get better colors if you let the bundles air dry before opening. Either way, after the fabric is dry, remove any extra bits of plant, and iron the fabric. I’ve read it’s best to let the fabrics sit for a week before washing to let the dye ‘cure’.
Finally:
Hand wash. This last step is important especially if you’re gifting the dyed fabrics. At the very least, rinse the fabrics in warm water until the water runs clear. It can be startling to watch color run out, but it’s really a good thing because you don’t want to ruin clothes or linens accidentally. I use a dyers detergent called Synthrapol designed to keep the loose dye from attaching to fabric.
Lessons Learned:
One thing you should have is a dedicated pot for steaming or simmering the fabrics. You should definitely use a stainless or porcelain pot. An aluminum pot will muddy or ‘sadden’ the colors- which could be cool if it's intentional. While the dyes aren't dangerous, it's just good strategic safety to keep food and crafts separate. My pot came from the thrift store.
You can strip silk of it’s luster by heating it too fast or boiling. Definitely steam it.
My colander wasn’t stainless and I got some seriously sad colors.
If you’re going for neutral colors or like browns, you can use canned beans. But if you’re looking for vibrant colors - choose the organic dried black beans.
If you start digging into the art of natural dying you’ll also learn you can manipulate color before you even start by how you pre-treat the fabric.
If you’re doing LOTS of pieces at once, I recommend a pot dedicated to citric acid pices, and a pot for baking soda pieces to keep the integrity of the colors.
This is a fun project to do with friends!
Links: